Scraping Amazon Product Reviews


To read more articles like this, visit my blog
In this age of data, web scraping is the unsung hero. It’s a way to extract information from the vast web. The knowledge of web-scraping comes in handy in many scenarios.
Today, we will learn web scraping from scratch. We will get familiar with the concepts and the challenges.
Here is what we will do step by step.
Set up a Python project following all the best practices.
Understand how to think like a scraper and use the tools.
How to do authentication.
How to extract data from a web page.
How to export the data.
At the end of the article, we will have a Python project to scrape any Amazon product’s page and get the review data.
Our target URL is the following.
ENHANCE Gaming Headphone Stand Headset Holder with 4 Port USB Hub, Customizable LED Lighting…
Pre Requisites
To follow this article, you must be familiar with Python.
But if you are not, don’t worry. You still can follow. The concepts are the same, and similar tools exist in all languages.
Let’s begin!
1. Create a New Project Directory
First, create a new directory for the project.
mkdir scrape-web-data

cd scrape-web-data
2. Initialize a Virtual Environment
A virtual environment is a way to isolate the dependencies of a project.
It helps us to resolve the conflicts in various versions of the dependencies.
Let’s create one.
python3 -m venv venv

# On Windows: python -m venv venv
Activate the virtual environment:
Creating a virtual environment is not enough; you must activate it before using it.
Let’s do that.
source venv/bin/activate

# On Windows: venv\Scripts\activate
If you inspect the terminal, you will notice a (venv) prefix on the second line.

It means our virtual environment is activated!
If you want to exit from the virtual environment, Just type
deactivate

That’s it!
3. Install Required Packages
As a start, we will use a single library
Requests
This is a library to make HTTP requests. It has a simple interface, and calling an external API is as simple as
import requests

response = requests.get("URL")
To install these libraries, run the following
pip3 install requests
Optionally
You can add these dependencies to a permanent requirements.txt file. So, when you share the code with others, they will know exactly what to install.
pip3 freeze > requirements.txt
If you run the following command, it will create a requirements.txt file inside the project directory.
If you share the project with someone else, they must run it.
pip3 install -r requirements.txt
This makes it easy to share dependencies between teams.
Enough chit-chat! Let’s code
Now comes the fun part. Let’s create our scraper file.
touch scraper.py
And open it in your favorite editor.
First Things First
The first step to being a web scraper is understanding where the data comes from.
You see the following when you visit a web page like this product page.

Now, this is designed for humans (Like you!). You can capture the information through your eyes.
However, our machines don’t have eyes, so they only see some HTML code.
You can see the underlying code
By hitting the F12 key on your keyboard. or,
Right-click and inspect
You will see something like this when you do that,
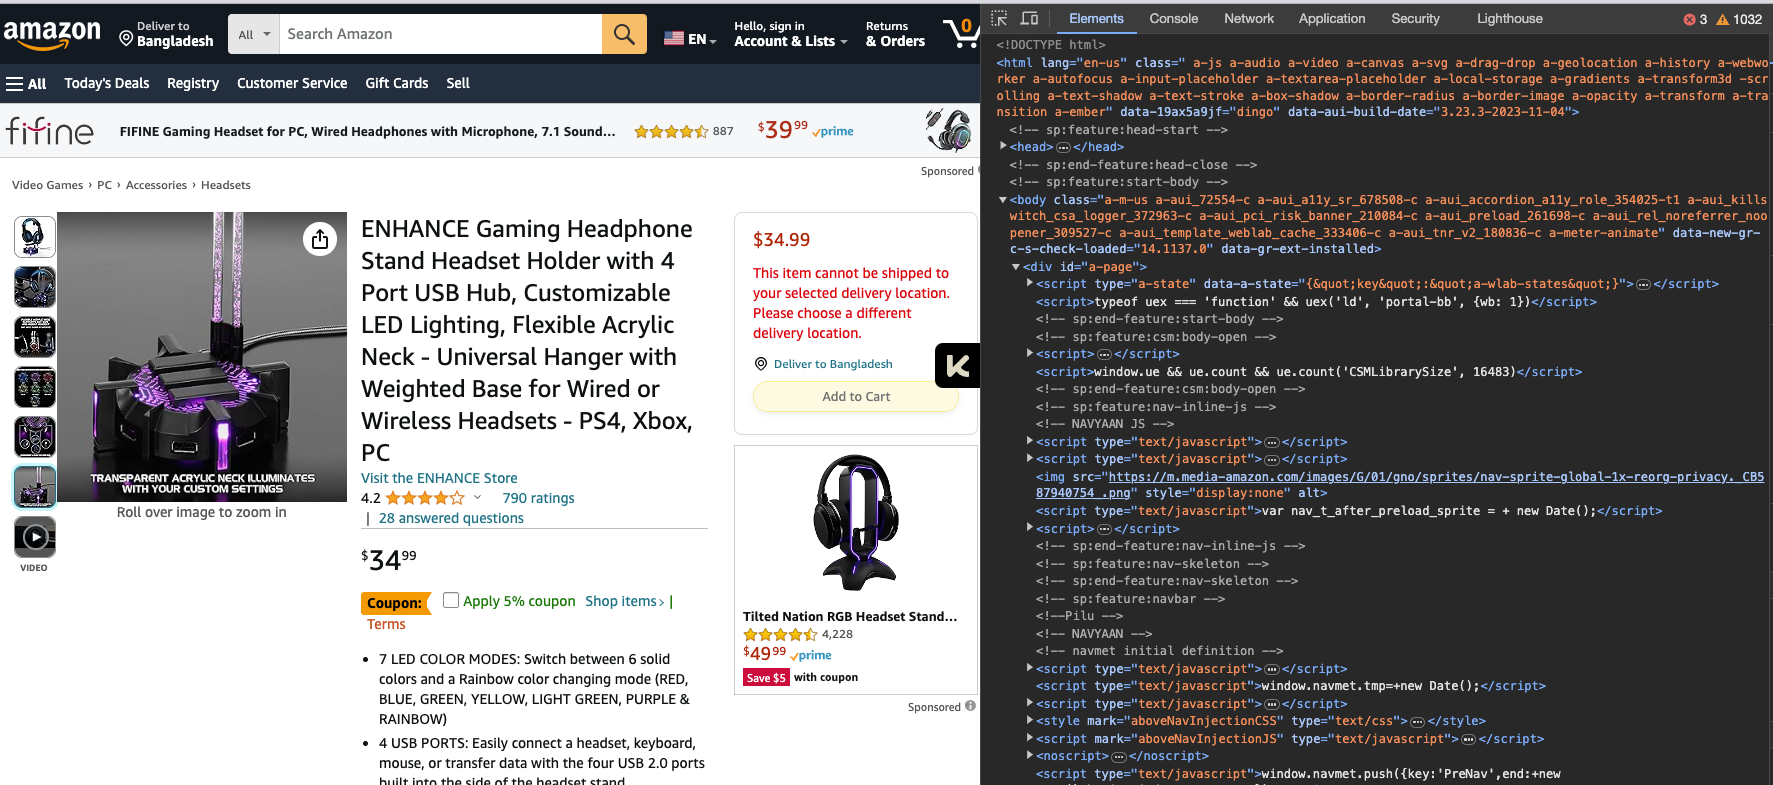
Now, If you want the product's title, there is a title for that. Just right-click on the title and inspect.
It will take you right to the exact thing you are looking for.

Nice!
Notice that the product title has some distinct properties.
This is an
<span>element.It has an id
productTitleIt has a class
ofa-size-large product-title-word-break
It is essential to understand the different characteristics of the HTML elements.
Later, you will see how we utilize these properties to grab the desired data.
Game Plan!
Now that we have a good idea about what we are dealing with let’s see how we can get the data.
Let’s assume we want to get the product title of any Amazon product link.
The first step is to get the HTML content
The second step is to extract the data.
Step 1: Get the HTML content
When you visit any website, the browser makes an HTTP request, and the server sends back the HTML code.
We will do the same for our product page. And you will see how easy it is to get the HTML data using the requests library.
import requests

product_link = "https://www.amazon.com/ENHANCE-Headphone-Customizable-Lighting-Flexible/dp/B07DR59JLP/"

response = requests.get(product_link)

print(response.text)
Here, we are hitting the URL and printing the response.
Below is a small part of what we get back.
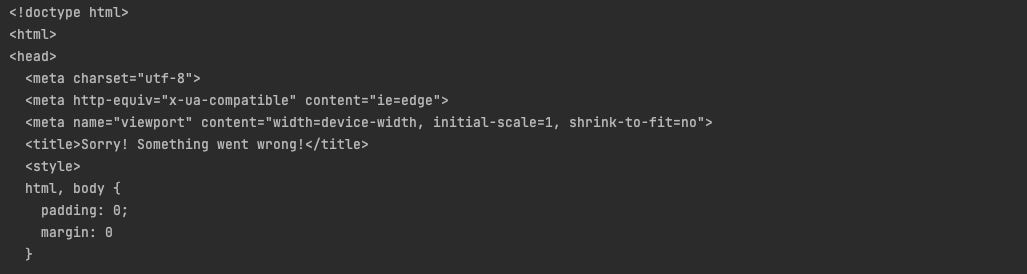
We got back the HTML code. So far, so good.
But wait, We have a problem!
Look closer and see the title tag.
<title>Sorry! Something went wrong!</title>
If you analyze the returned HTML response, you will also find
<!--
To discuss automated access to Amazon data
please contact api-services-support@amazon.com.
.....
-->
Well, we got a 200 response, but Amazon detected that we were calling the API using a bot and not as a human.
It’s a very common practice by organizations to prevent automated access to data, and as a web scraper, you have to learn how to work around them.
The solution — Headers
In this case, the problem is that Amazon treats us as a bot.
This problem can be easily solved by passing some extra headers with our request.
But where to get that?
Let’s head back to the browser and open the network tab.
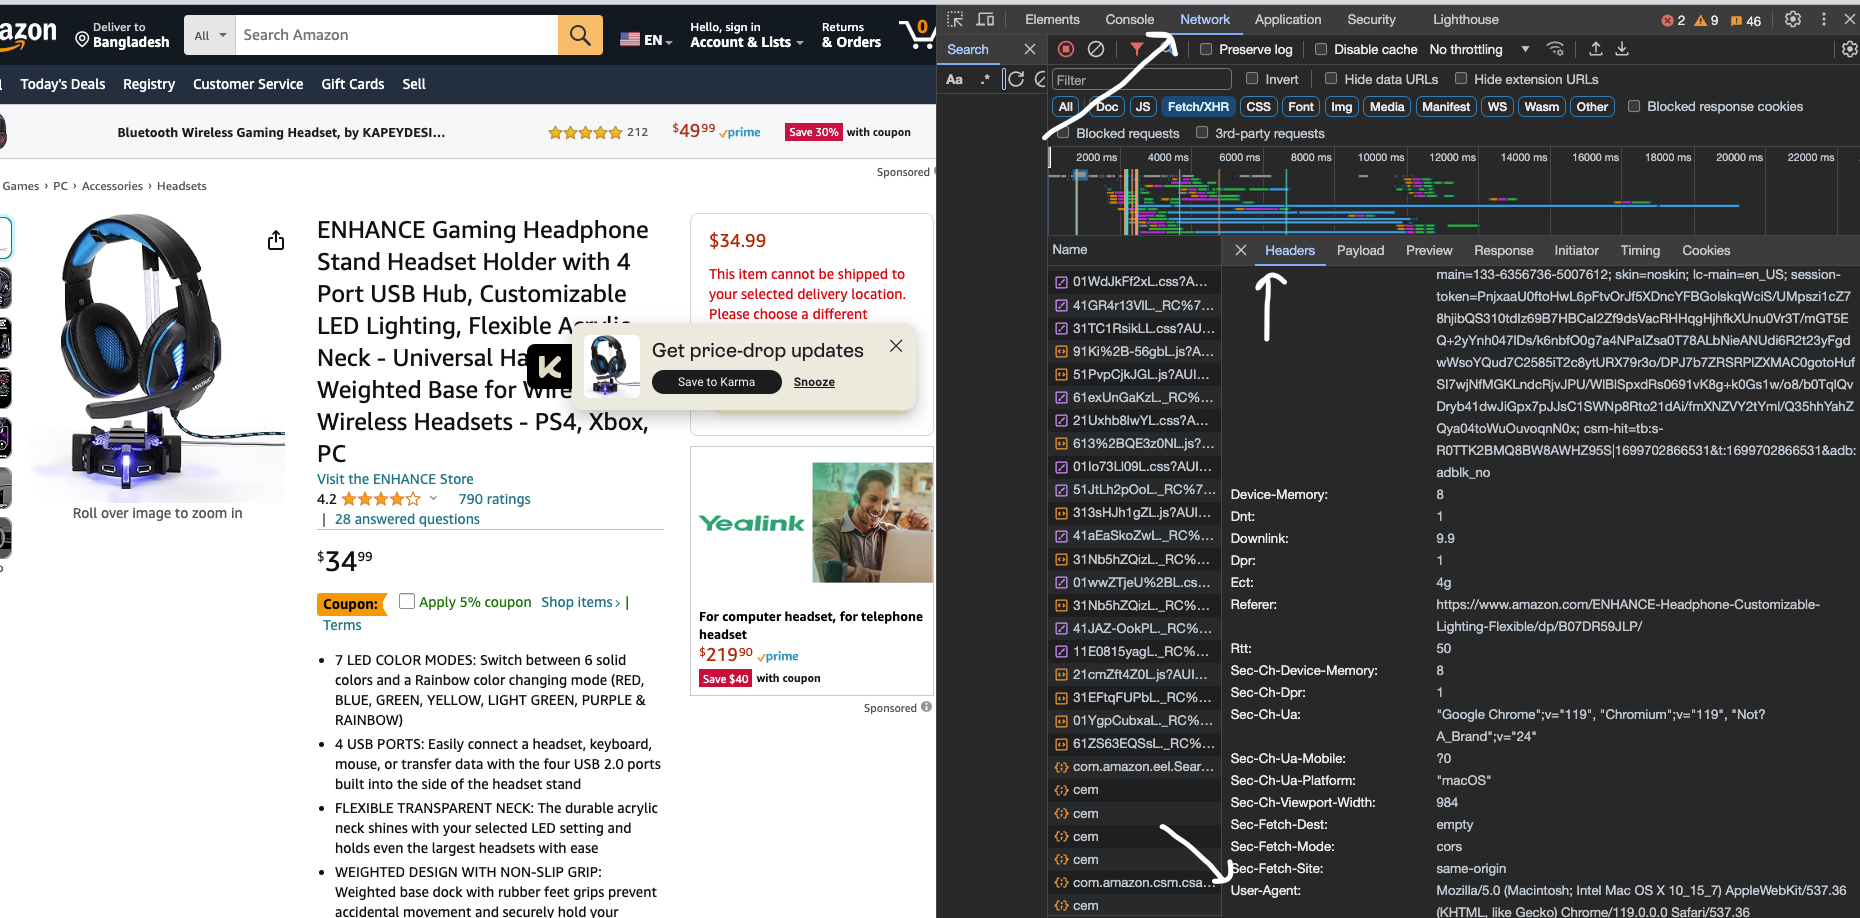
Refresh the page and click on the first request. And Then open the Headers tab.
Under the Headers, you will find the User Agent header that is being passed to the backend.
This way, Amazon identifies where the request is coming from.
We will do the same and update our code.
import requests

product_link = "https://www.amazon.com/ENHANCE-Headphone-Customizable-Lighting-Flexible/dp/B07DR59JLP/"
user_agent = "Mozilla/5.0 (Macintosh; Intel Mac OS X 10_15_7) AppleWebKit/537.36 (KHTML, like Gecko) Chrome/119.0.0.0 Safari/537.36"

human_headers = {
  'user-agent': user_agent,
}
response = requests.get(product_link, headers=human_headers)

print(response.text)
We pass some custom headers in the above code to identify ourselves as human.
user_agent = "Mozilla/5.0 (Macintosh; Intel Mac OS X 10_15_7) AppleWebKit/537.36 (KHTML, like Gecko) Chrome/119.0.0.0 Safari/537.36"

human_headers = {
  'user-agent': user_agent,
}
And then passing the headers using the requests library.
response = requests.get(product_link, headers=human_headers)
Now run the code,
python3 scraper.py
And you will get the complete HTML!
Nice. So we can get product page data. This is currently in the HTML format, but we can deal with that later.
Take it to the next level.
The page you just scraped was public. So we didn’t have to handle any authorization or authentication.
But that’s not always the case.
What if you want some data that is only available after logging in?
Understanding Authentication
Different companies have different ways of handling authentication.
Amazon uses email and password authentication. So, if you want to log in, you have to provide the email and the password field.
But wait, How do you do that? So far, we only used the requests library that can handle HTTP calls, but how can we deal with user inputs?
Enter Automated Browsers
Automated browsers are a way to mimic a user's interaction without any human interacting directly with it.
It can work like an assistant.
That means we can make it behave like a standard browser and simulate user behavior.
The most popular tool for that is selenium .
Let’s install the dependencies.
First, install the required dependencies.
pip3 install selenium undetected_chromedriver
Here,
Selenium: This is our headless browser and
Undetected Chromedriver: This is a library that will help us to avoid bot detection.
Login Process
As mentioned earlier, we will simulate a human login behavior. So, let’s analyze the Login process and gather information.
1 . First go to your Amazon account and click Sign in at the top right corner.

Go to the Sign-in page and copy the URL.
Grab the Email element and copy the id.

- Grab the Continue button element and copy the id

- Click the continue button and go to the next page. do the same for the Password field and the Sign-In button

So now we have all the data we need to sign in. Let’s code it!
You will do the following.
Gather all necessary details (We already did that above)
Create a browser instance
Navigate between the pages and fill out the proper credentials
Get the result back!
First, create a new file named. login.py
touch login.py
We will create a browser instance, grab the correct elements, fill out the proper information, and try to sign in.
Below is the required code.
import undetected_chromedriver as uc
import time
from selenium.webdriver.common.by import By
from selenium import webdriver

# Create a web browser instance
chromeOptions = uc.ChromeOptions()
chromeOptions.headless = False
driver = webdriver.Chrome(options=chromeOptions)

product_link = "https://www.amazon.com/ENHANCE-Headphone-Customizable-Lighting-Flexible/dp/B07DR59JLP/"

login_url = "YOUR_LOGIN_URL"
user_email = "YOUR_EMAIL"
user_password = "YOUR_PASSWORD"

email_input_id = "ap_email"
password_input_id = "ap_password"

continue_button_id = "continue"
sign_in_button_id = "signInSubmit"

# visit the login url
driver.get(login_url)
time.sleep(5)

# get the email input and fill up
email = driver.find_element(By.ID, email_input_id)
email.send_keys(user_email)

# get the continue button and click
driver.find_element(By.ID, continue_button_id).click()

# wait for navigation
time.sleep(5)

# get the password and fill up
password = driver.find_element(By.ID, password_input_id)
password.send_keys(user_password)

# get the sign in button and click
driver.find_element(By.ID, sign_in_button_id).click()

time.sleep(10)

# visit product url
driver.get(product_link)

# Extract the full HTML of the page and store it in the 'page_html' variable
page_html = driver.page_source

print(page_html)

# Close the WebDriver instance
driver.close()
Let’s run the code.
python3 login.py
You will see a browser pop up, simulate the whole behavior in front of your eyes, and return the HTML page content.
THE HTML OUTPUT IS TOO LONG TO SHOW HERE
However, sometimes, you will get caught in the bot detection and see the following page.
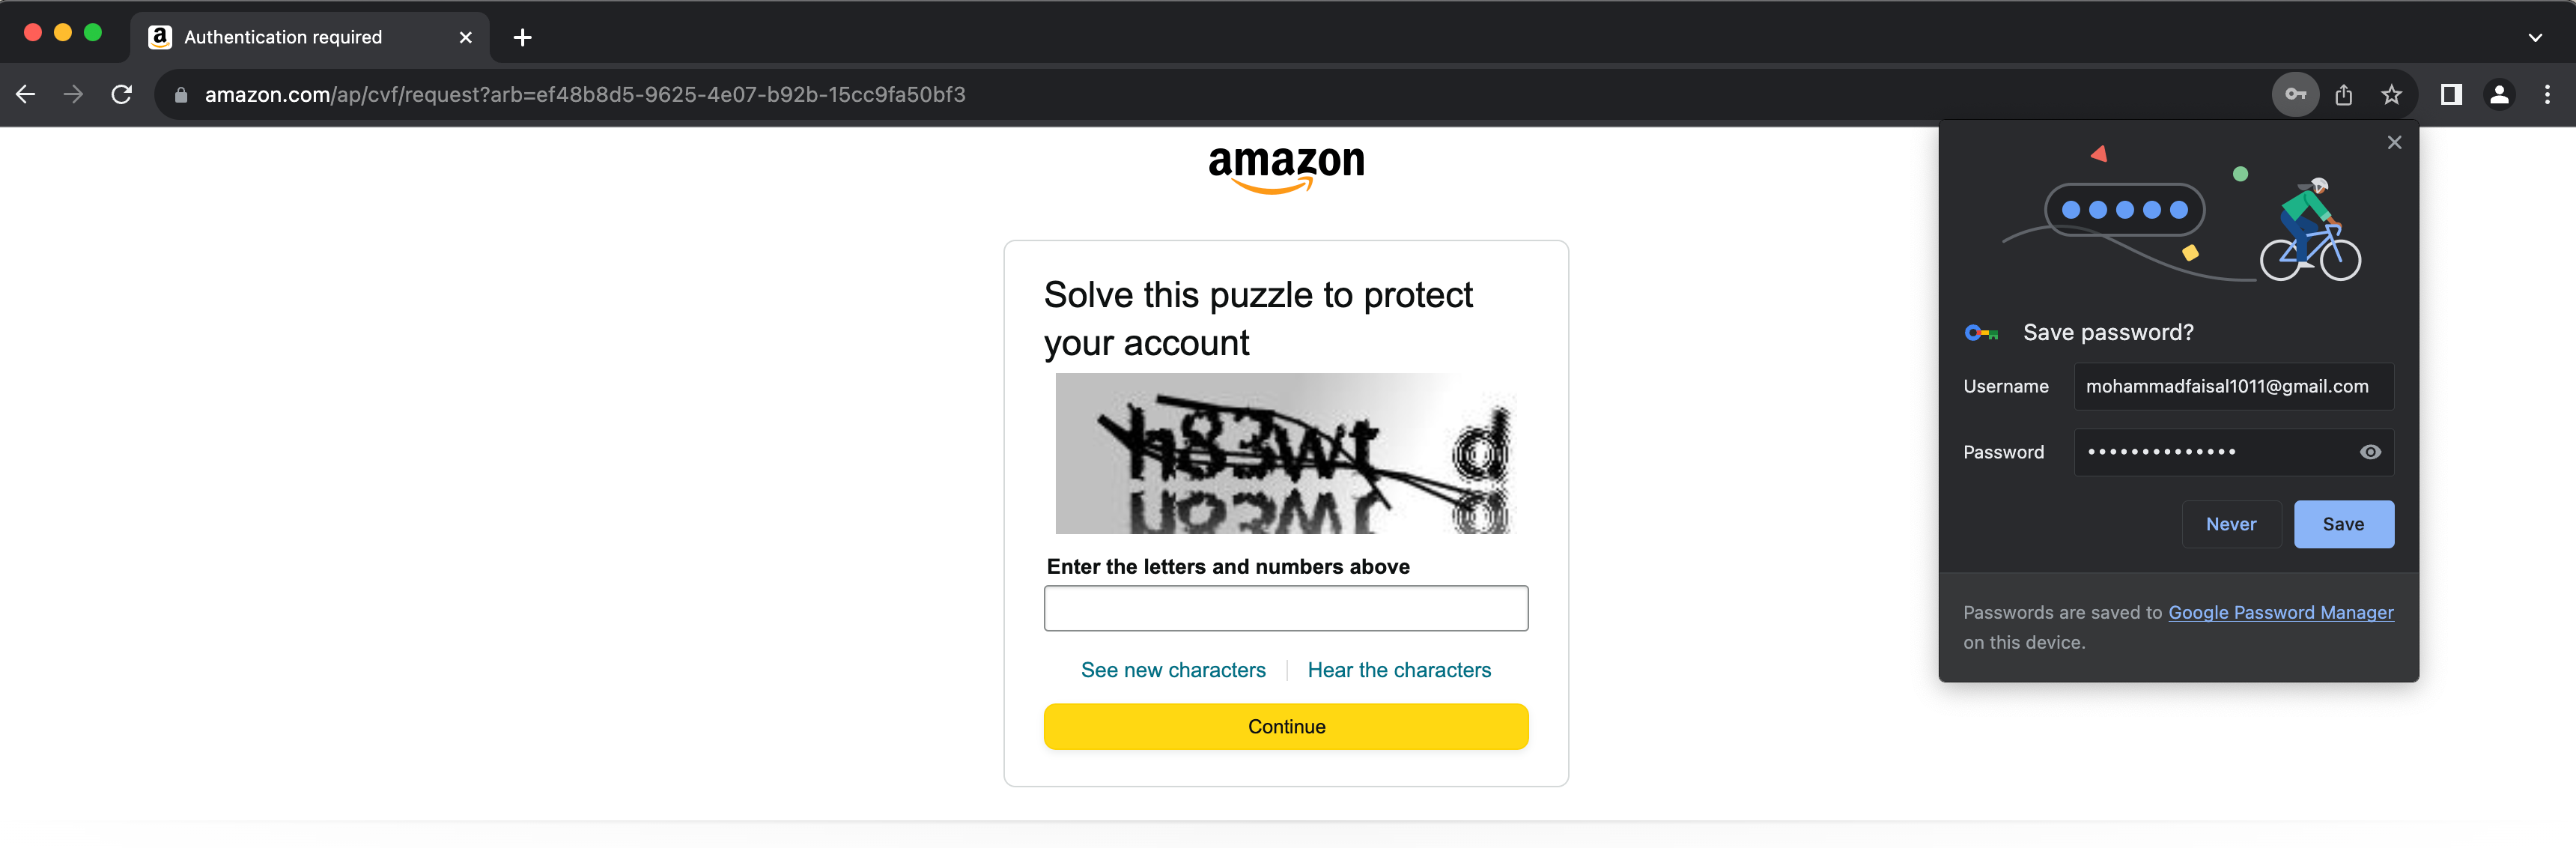
Bypassing the captcha is not as straightforward as we have been doing so far. Because we can’t just get an ID and type whatever we like.
There are some paid tools to
Extract the data
So Now we know how to get the HTML content of a page.
Now, we need to extract the required data from the HTML content.
To do that, we will use beautiful soup library.
Beautiful Soup
This is a library to parse HTML data quickly.
To install,
pip3 install beautifulsoup4
Then, using it is as simple as
import BeautifulSoup

soup = BeautifulSoup("SOME_HTML_CODE", 'html.parser')
Extract product review data
We need to analyze the HTML to find the proper identifiers to find the product review data.
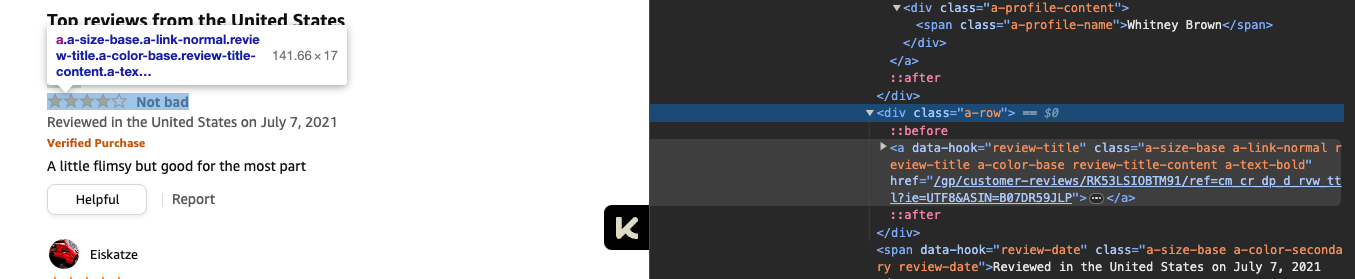
Here each review
The title is inside a
spanand have a class ofa-profile-nameThe review is inside a span under a div with a class named
review-title-contentThe date is inside a class named
review-date
Let’s use these pieces of information to get our desired values.
# here page_html is whatever we received from the previous steps
soup = BeautifulSoup(page_html, 'html.parser')
# get all span elements with the desired class
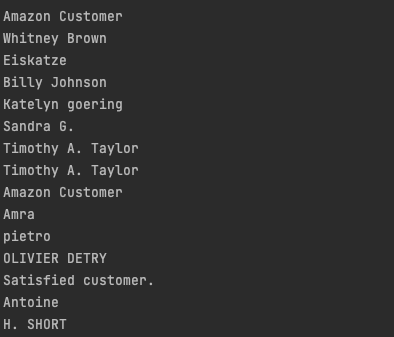
user_names = soup.find_all('span', class_="a-profile-name")
# loop over each
for user_name in user_names:
print(user_name.text)
It will give you the following output
Nice! Now we know how to get the user names. We will do the same for the review and title; the following is our final code.
# parse the data
soup = BeautifulSoup(page_html, 'html.parser')

# grab desired elements
review_users = soup.find_all('span', class_="a-profile-name")
all_review_divs = soup.find_all('div', class_='review-text-content')
review_dates = soup.find_all('span', class_="review-date")

# total reviw count
num_reviews = len(all_review_divs)
reviews = []

for i in range(0, num_reviews):
    reviews.append([review_users[i].text, all_review_divs[i].find('span').text,review_dates[i].text])

print(reviews)
Now, you will get the following output
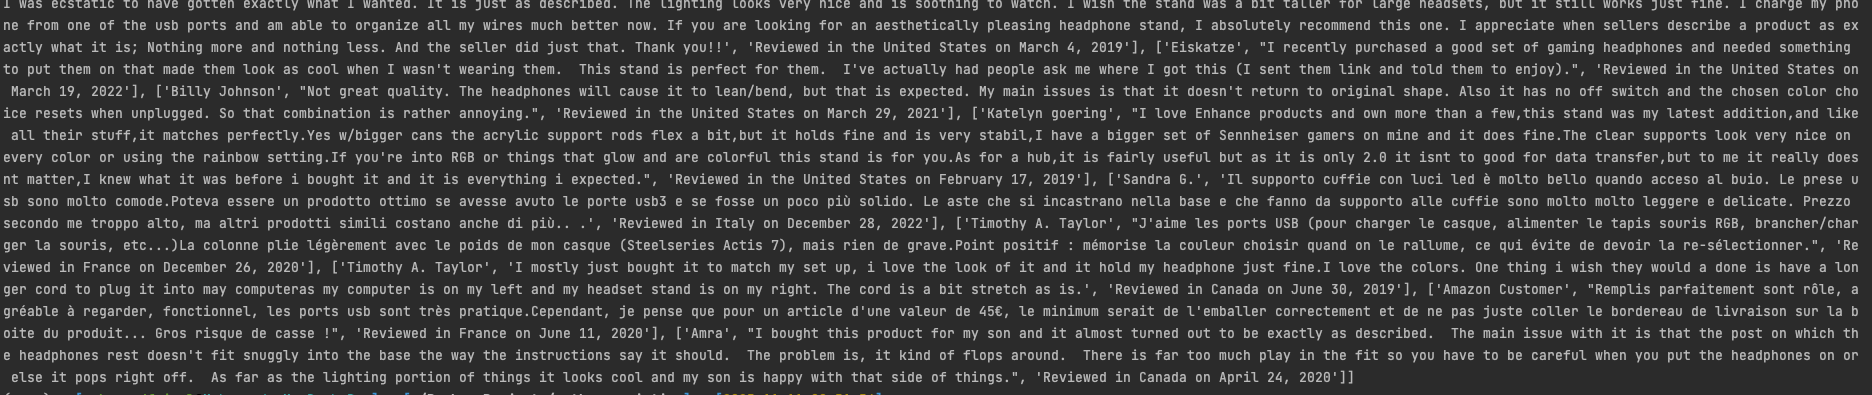
So, as you can see, we have all the review data available to us.
Export the Data
Now, as we already have the data. Let’s export it.
Exporting the data to CSV format is easy using the CSV package. Let’s first install it
pip3 install csv
Then, we will use the package to iterate over the reviews array and write the content to the file.
import csv

# scraping logic...

# csv file name
csv_file_path = "reviews.csv"

# Write the data to the CSV file
with open(csv_file_path, 'w', newline='') as csv_file:
    csv_writer = csv.writer(csv_file)

    # Write each row from the data array
    for row in reviews:
        csv_writer.writerow(row)

print(f"CSV file '{csv_file_path}' has been created.")
You will see

You will also see a reviews.csv file generated in the same directory. After opening with any editor, you can view the result.
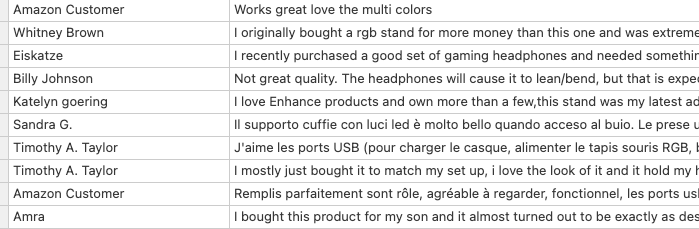
This is great. We have successfully scraped the product page and exported the data.
Thank you for reading so far! I hope you have a wonderful day!
Have something to say? Get in touch with me via LinkedIn or Personal Website.